Vendor Management - Account Numbers Tab
Items > Vendor Management > Account Numbers
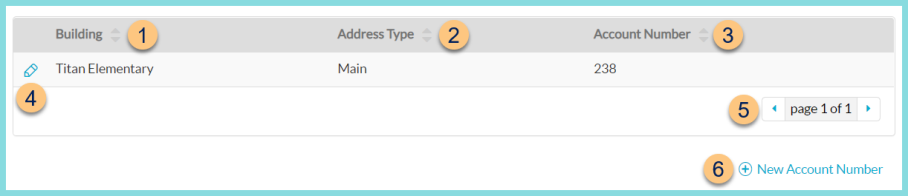
This page is used to manage building account numbers and delivery days for vendor orders and ordering guides. Each warehouse that orders from the vendor needs to have an account number created.
-
Building - click to sort by building name
-
Address Type - click to sort by Building Address Type
-
Account Number - click to sort by the building's Vendor Account Number
-
Pencil - click to edit account number
-
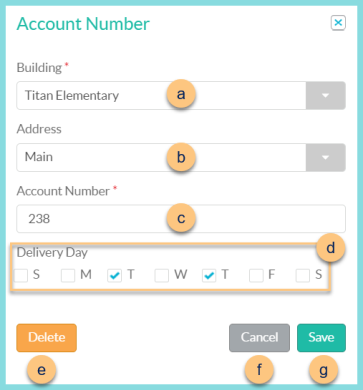
Building - select the building
Note: Only buildings with the Warehouse attribute are selectable -
Address - select the building's address that will appear on vendor orders
-
Account Number - enter the building's vendor account number to be populated on orders from this building
-
Delivery Day - select the day(s) that deliveries are received from this vendor at the selected building
Note: Orders to this vendor placed via the Ordering Guide will automatically be pushed forward to the next available selected day -
Delete - click to delete the account number
-
Cancel - click to return to the previous screen without saving changes
-
Save - click to save changes
-
< > - click to scroll through pages
-
(+) New Account Number - click to add a new account
-
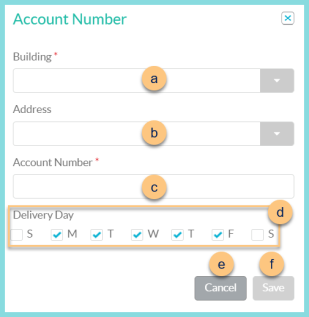
Building - select the building
Note: Only buildings with the Warehouse attribute are selectable -
Address - select the building's address that will appear on vendor orders
-
Account Number - enter the building's vendor account number to be populated on orders from this building
-
Delivery Day - select the day(s) that deliveries are received from this vendor at the selected building
Note: Orders to this vendor placed via the Ordering Guide will automatically be pushed forward to the next available selected day -
Cancel - click to return to the previous screen without saving changes
-
Save - click to save changes